MFS equipment
Oral obturators
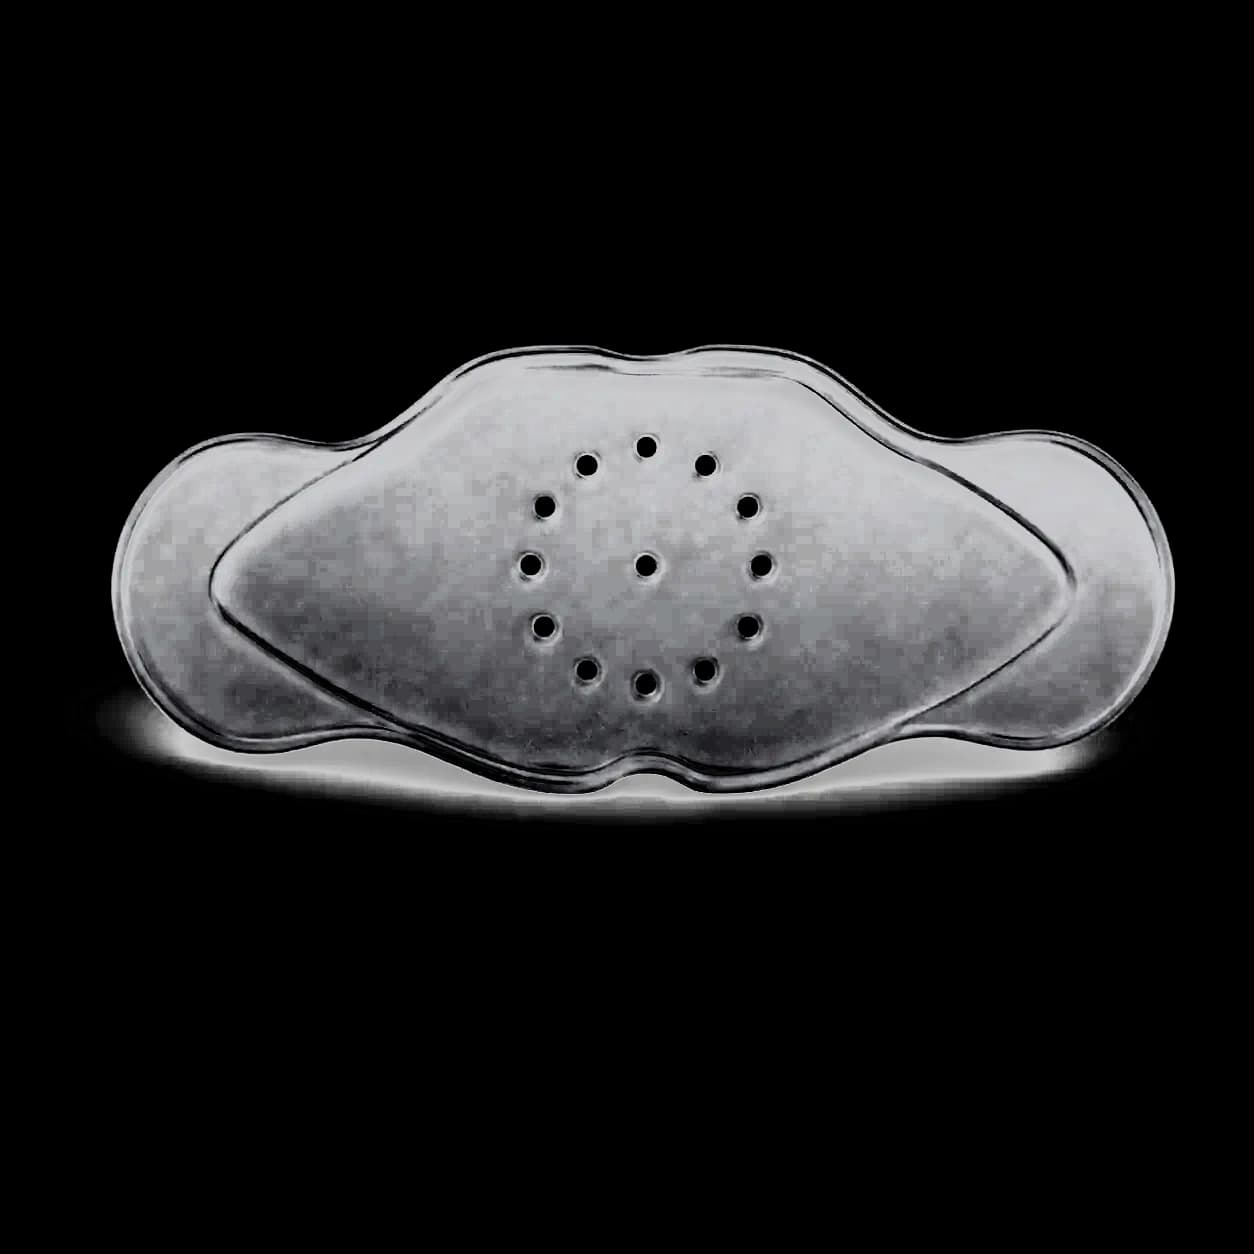
A vestibular shield in three permeability types, individually fitted at the clinic
What is the oral obturator?
It is a simple shield that follows the shape of the dental arches and acts as a seal in the oral vestibule. The upper and lower peripheral rims support work on the lip muscles. The three types differ only by breathing hole size and share the same device shape.
How it may support therapy
The obturator may support a gradual reduction in mouth breathing and work on lip seal. It is often combined with the nose stimulator during adaptation and, when lip tone is low, with the lip stimulator as well. A physician or a therapist trained in function regulators sets how it is used and when to move between types.
Three permeability types
Progression follows a fixed order: permeable, then semi-permeable, then impermeable. Stage length and pace are set by the therapist at review visits. We do not publish a fixed wear schedule.
1
Permeable
Large breathing holes. Usually the first stage while the patient adapts to work on nasal breathing.
2
Semi-permeable
Smaller breathing holes. The next stage after work with the permeable type is established.
3
Impermeable
No breathing holes. The stage with the greatest restriction of mouth breathing, after the earlier types.
Who it is for
- Mouth breathing at rest or at night, after a functional assessment
- Breathing pattern re-education within myofunctional therapy
- Support in maintaining outcomes after orthodontic treatment when that fits the plan
- Parallel work with the nose stimulator or lip stimulator when assessment indicates it
Sizes and fitting
Each type comes in six sizes (1–6). Fitting uses the dental arch circumference between the first permanent molars. The smaller size is used when unsure. A physician or a therapist trained in function regulators selects the type and final size.
How the obturator is placed
Step order is in the text; numbers on the images are visual only
1
Prepare
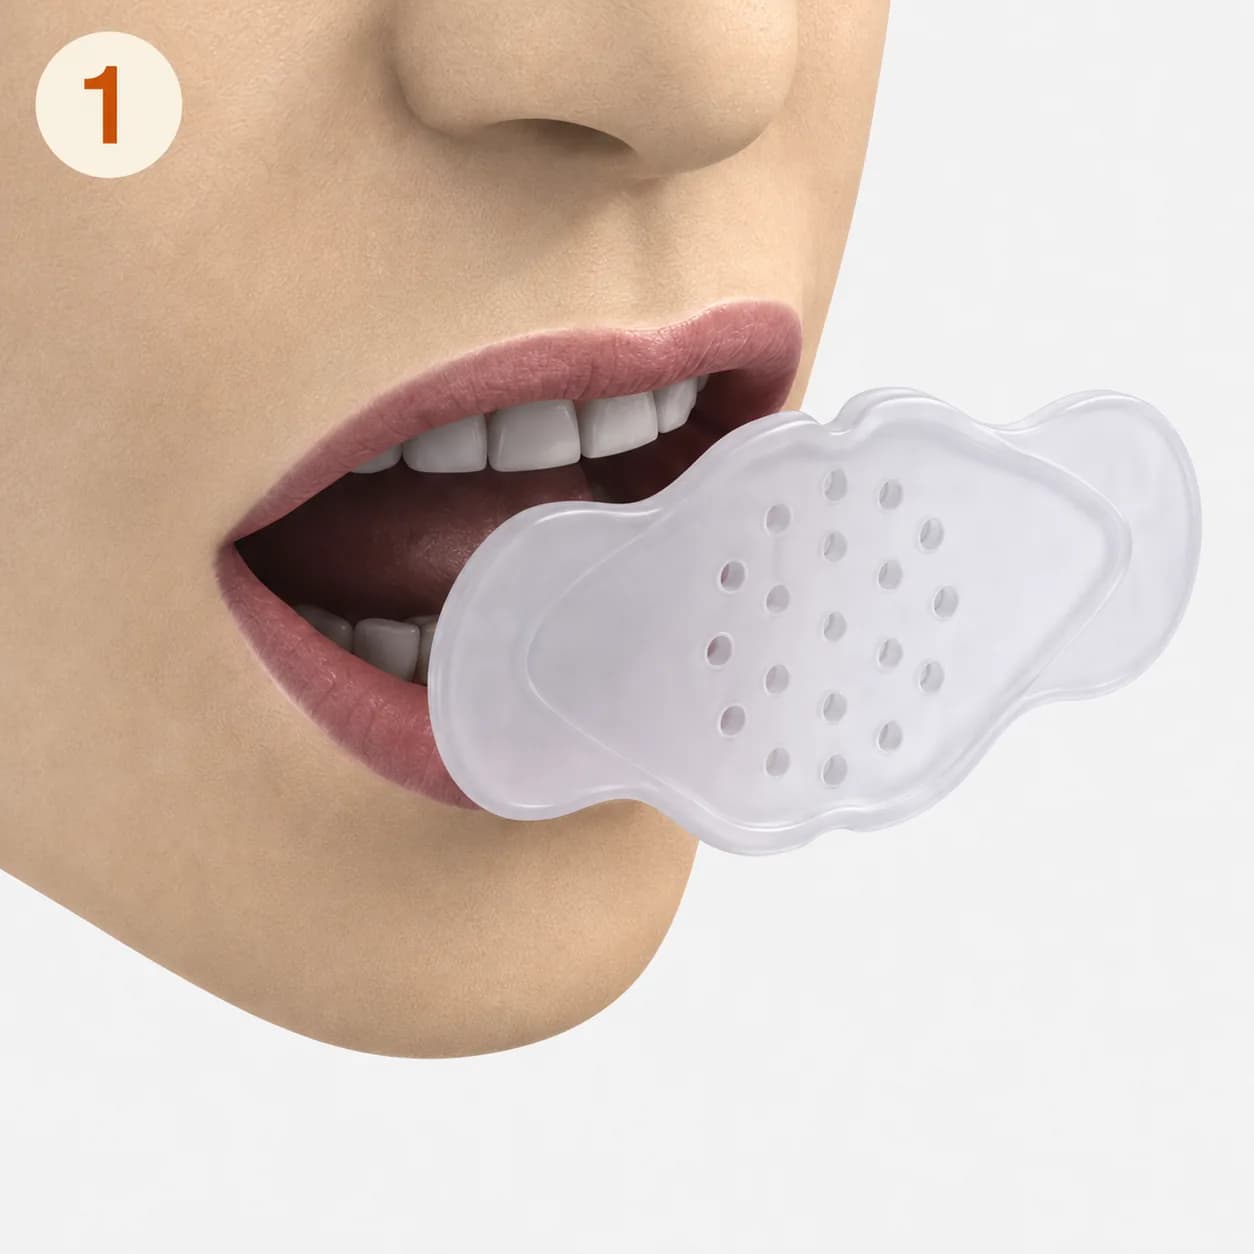
Wash your hands. Check that the device is clean and undamaged. Sit comfortably in front of a mirror.
2
Place in the vestibule
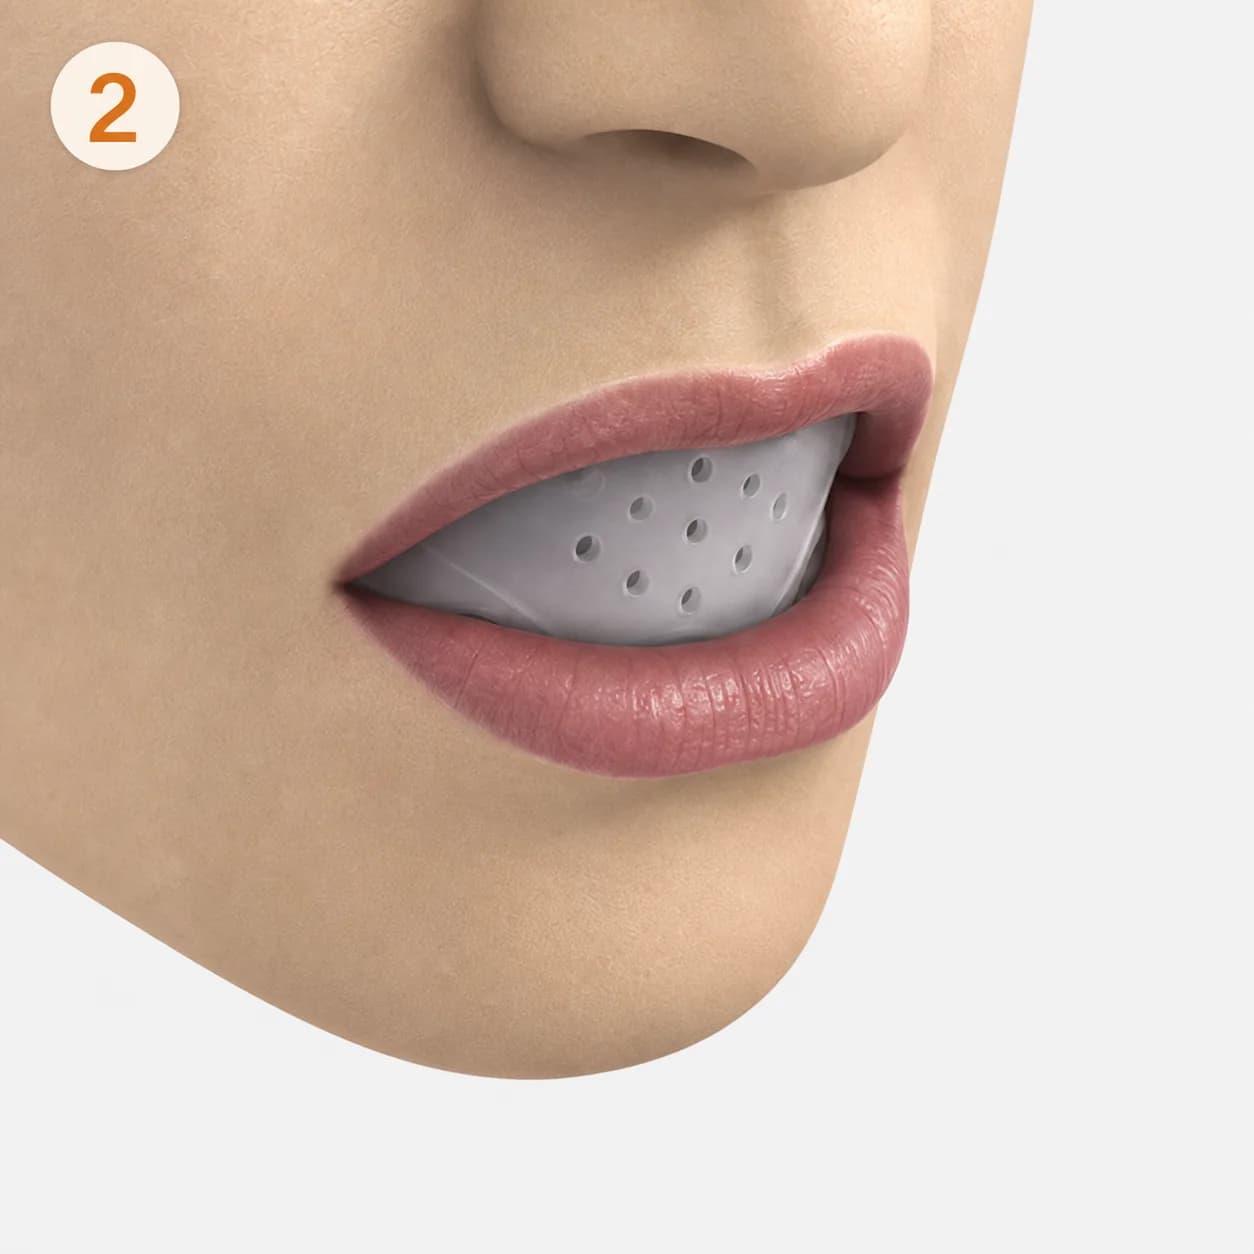
Gently seat the shield in the oral vestibule in front of the dental arches. Do not force the device. A correctly fitted size should not cause pain.
3
Check comfort
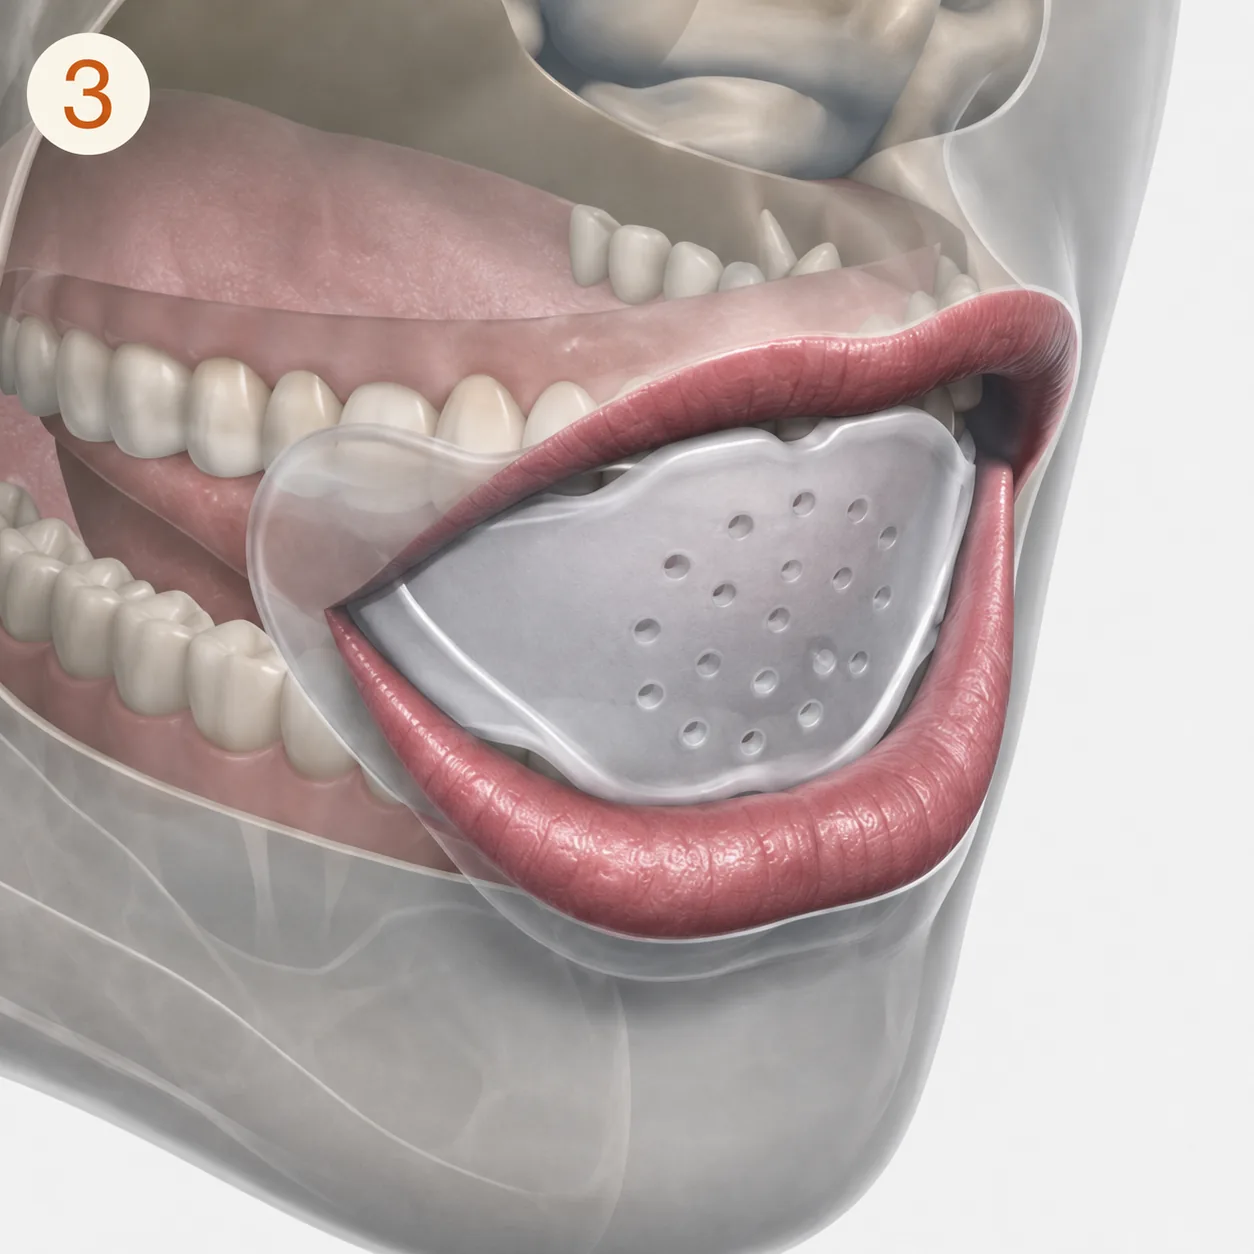
Close the lips around the rims and check that the shield sits stably without discomfort. Use the device as directed by a physician or therapist trained in function regulators.
Contraindications and precautions
- Do not use in children under 5.
- Warning: keep the device away from heat sources and do not boil or scald it.
- Do not use when the upper airway is not patent.
- Do not use a damaged device or a size that causes pain or abrasion.
Similar products
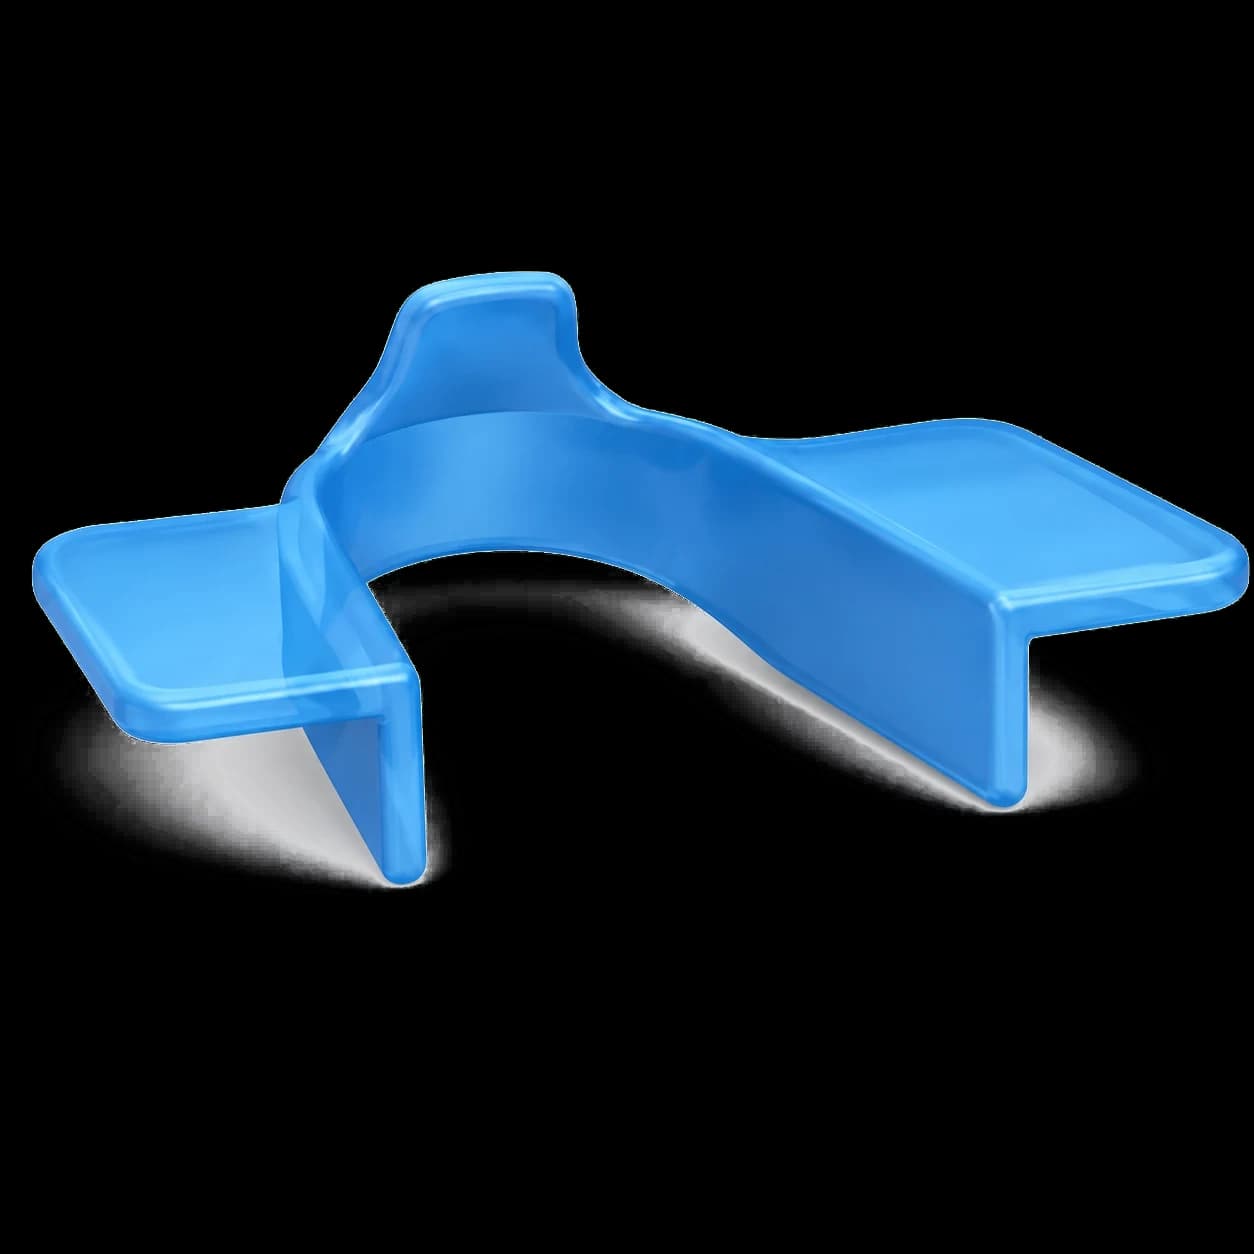
MFS open-bite device
Lateral bite planes and an anterior shield. Used in myofunctional therapy alongside an orthodontist's plan.
- Anterior open bite within an orthodontic plan
- Work on tongue posture
- Does not replace orthodontic treatment
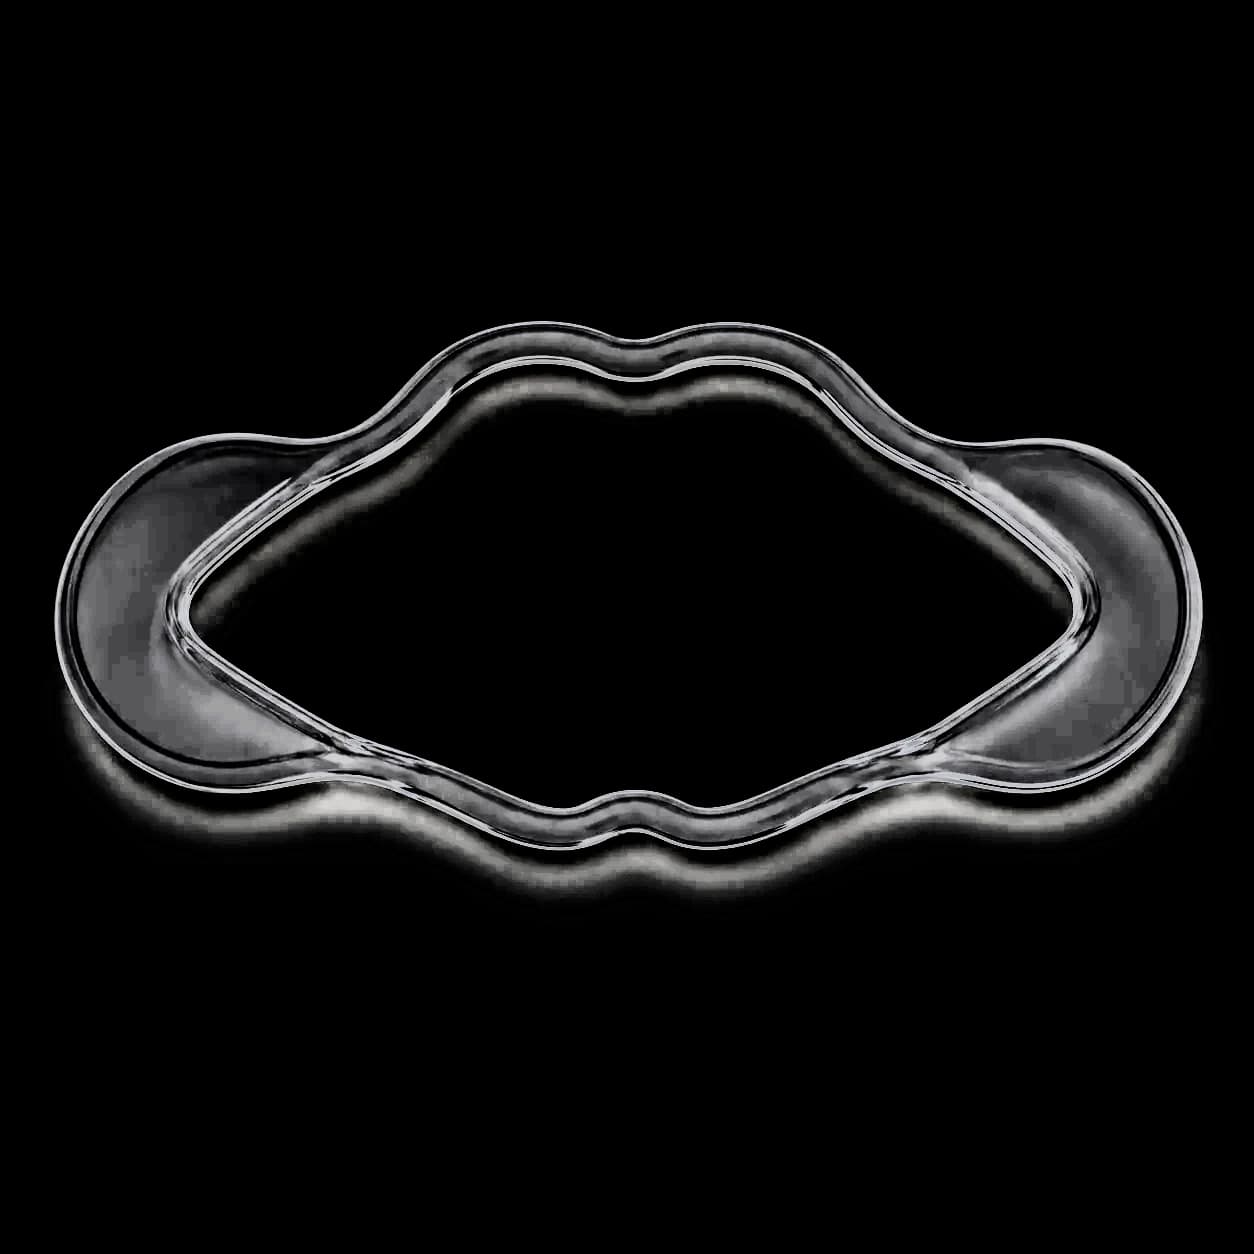
MFS lip stimulator
An oval device with upper and lower front bands, worn in the oral vestibule in front of the dental arches.
- Lips parted at rest
- Atypical swallowing and tongue posture
- Six sizes, fitted in clinic
Discuss device fitting
A physician or a therapist trained in function regulators selects the type and size after a functional assessment